Solana Integration
Beamable offers a Solana Microservice that allows developers to integrate Solana authentication and inventory with Beamable games. The Solana Microservice source code is available on Github.
Installing
The Solana Microservice can be installed through Unity's Package Manager (UPM), or by cloning the source code directly from Github. It is recommended to use UPM to get started quickly. However, Unity marks all files from UPM as readonly, which means that any customization to the Microservice will require that the code be cloned directly from Github.
Installing from Unity Package Manager (UPM)
Follow these instructions to install Solana through UPM, and review the general git url instructions from Unity.
- Install the Beamable SDK into a new Unity project. The Solana Microservice requires Beamable 1.12.0 or later. Follow basic Beamable setup instructions.
- Open the Unity Package Manager, click the Plus icon in the top left, and select, "add package from git URL".
- To install 1.0.0, use this git url, https://github.com/beamable/solana-example.git?path=/Packages/com.beamable.solana#1.0.0
- In the Package Manager, select Beamable Solana and import the sample project.
This approach will allow developers to stay up to date with new Beamable Solana Microservice updates.
Installing from Cloning (git)
Depending on specific use cases, there may be subtly different approaches to take when cloning the repository. The simplist approach is to follow the instructions below. The Solana Microservice will be available in the Packages folder, but because it wasn't acquired through UPM, the files will be editable.
- Install the Beamable SDK into a new Unity project. The Solana Microservice requires Beamable 1.12.0 or later. Follow basic Beamable setup instructions.
- Download the Solana Microservice source code.
- Extract the
.zipfile, and copy the Packages/com.beamable.solana folder into your own Unity project's Packages folder. - Optionally, delete the Packages/com.beamable.solana/Samples folder from your project.
Of course, it is possible to fork the repository, or clone it with git such that updates can be pulled into new projects. However, in general, when forking a repository, code drift is expected.
Getting Started
Once the Solana Microservice has been included in a Unity project, follow these instructions to start using the integration.
-
In the Beamable Microservice Manager, click the Publish button, and publish the SolanaFederation service and SolanaStorage items to the realm.
-
In the Beamable Content Manager, select which Currencies and Items you want to federate to the Solana blockchain. This is accomplished by checking the "Federation" box, and selecting the SolanaFederation / solana
Note: Items will correspond to Non-Fungible Tokens (NFTs) whereas Currencies will correspond to Semi-Fungible Tokens (FTs).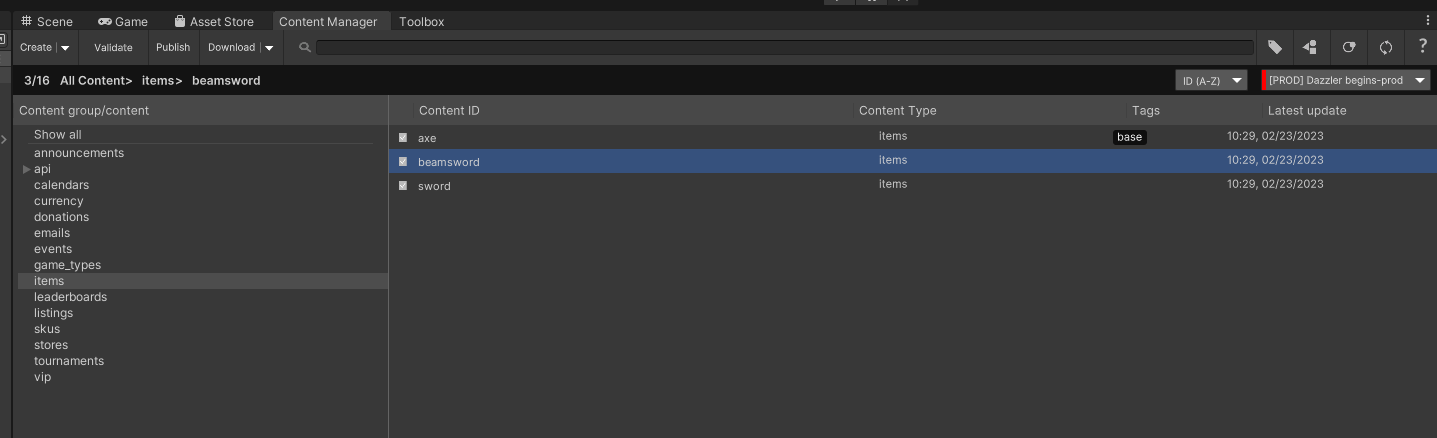
-
Click the "Publish" button in the Beamable Content Manager to make the content live on your realm.

-
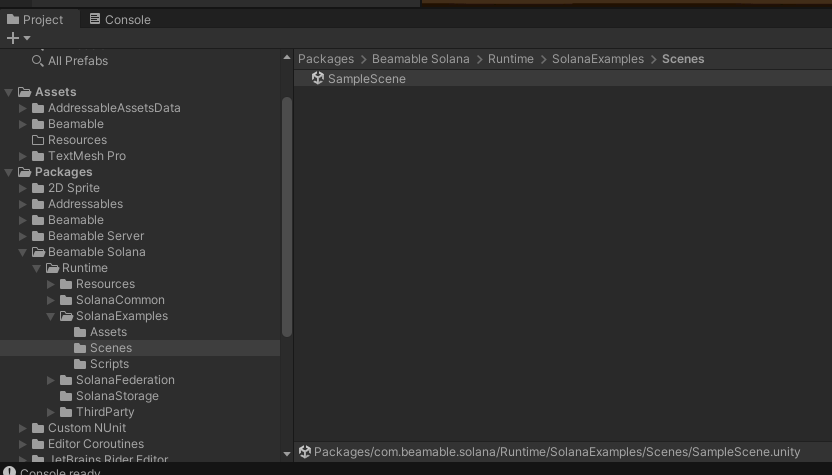
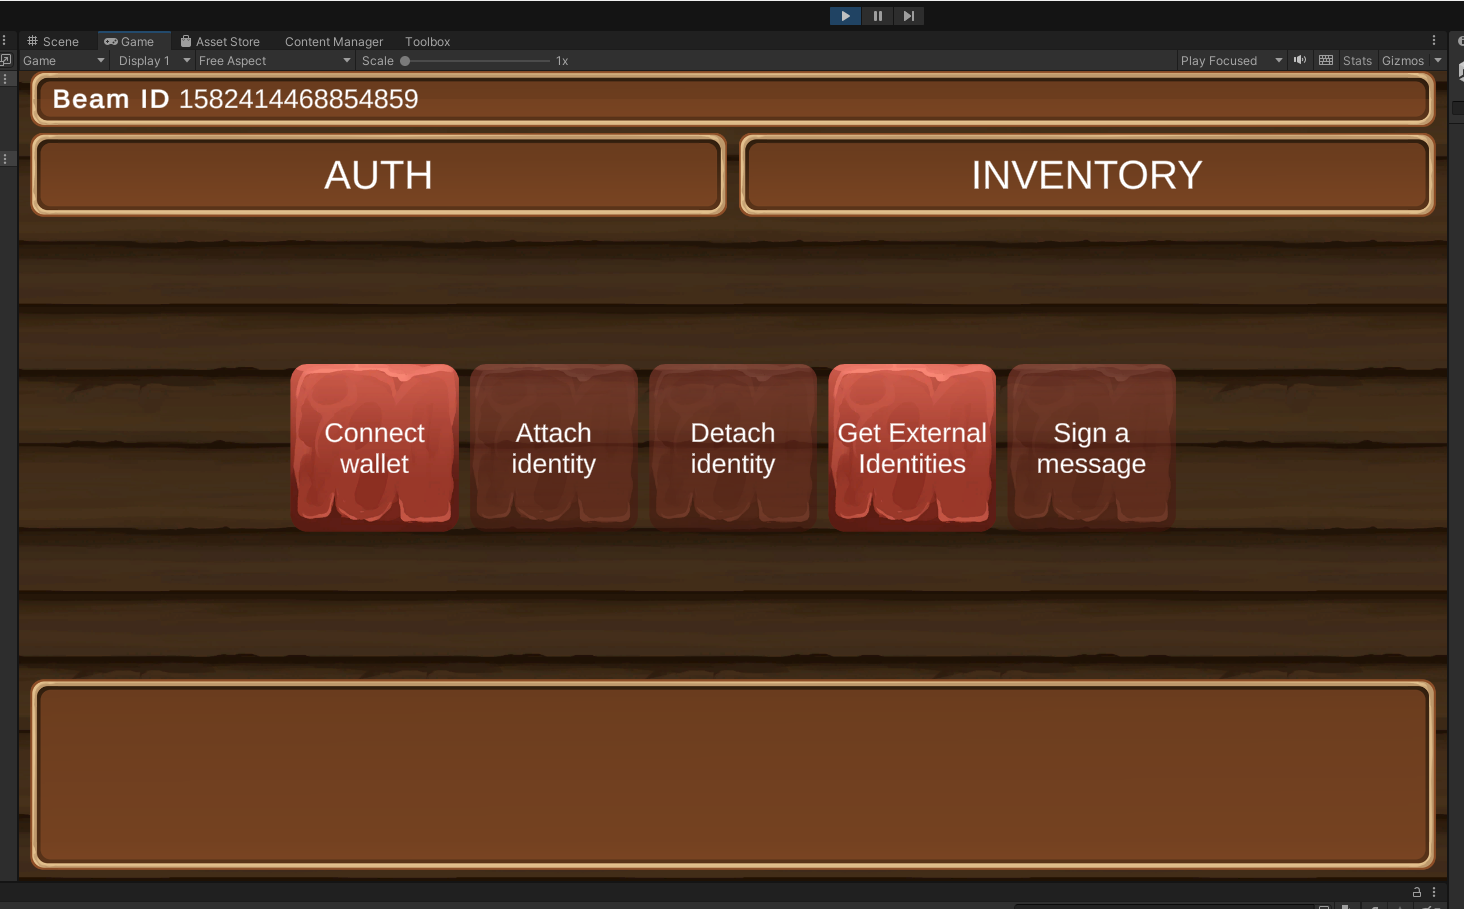
Attach a wallet to your player account. Run the the example scene included with the Solana Beamable package and select "Connect Wallet" followed by "Attach Identity". The scene is available under:
Packages/com.beamable.solana/Runtime/SolanaExamples/Scenes/SampleScene.unity
Note: If the wallet is already attached to your Beamable player account, then the "Attach identity" button will be greyed out.
-
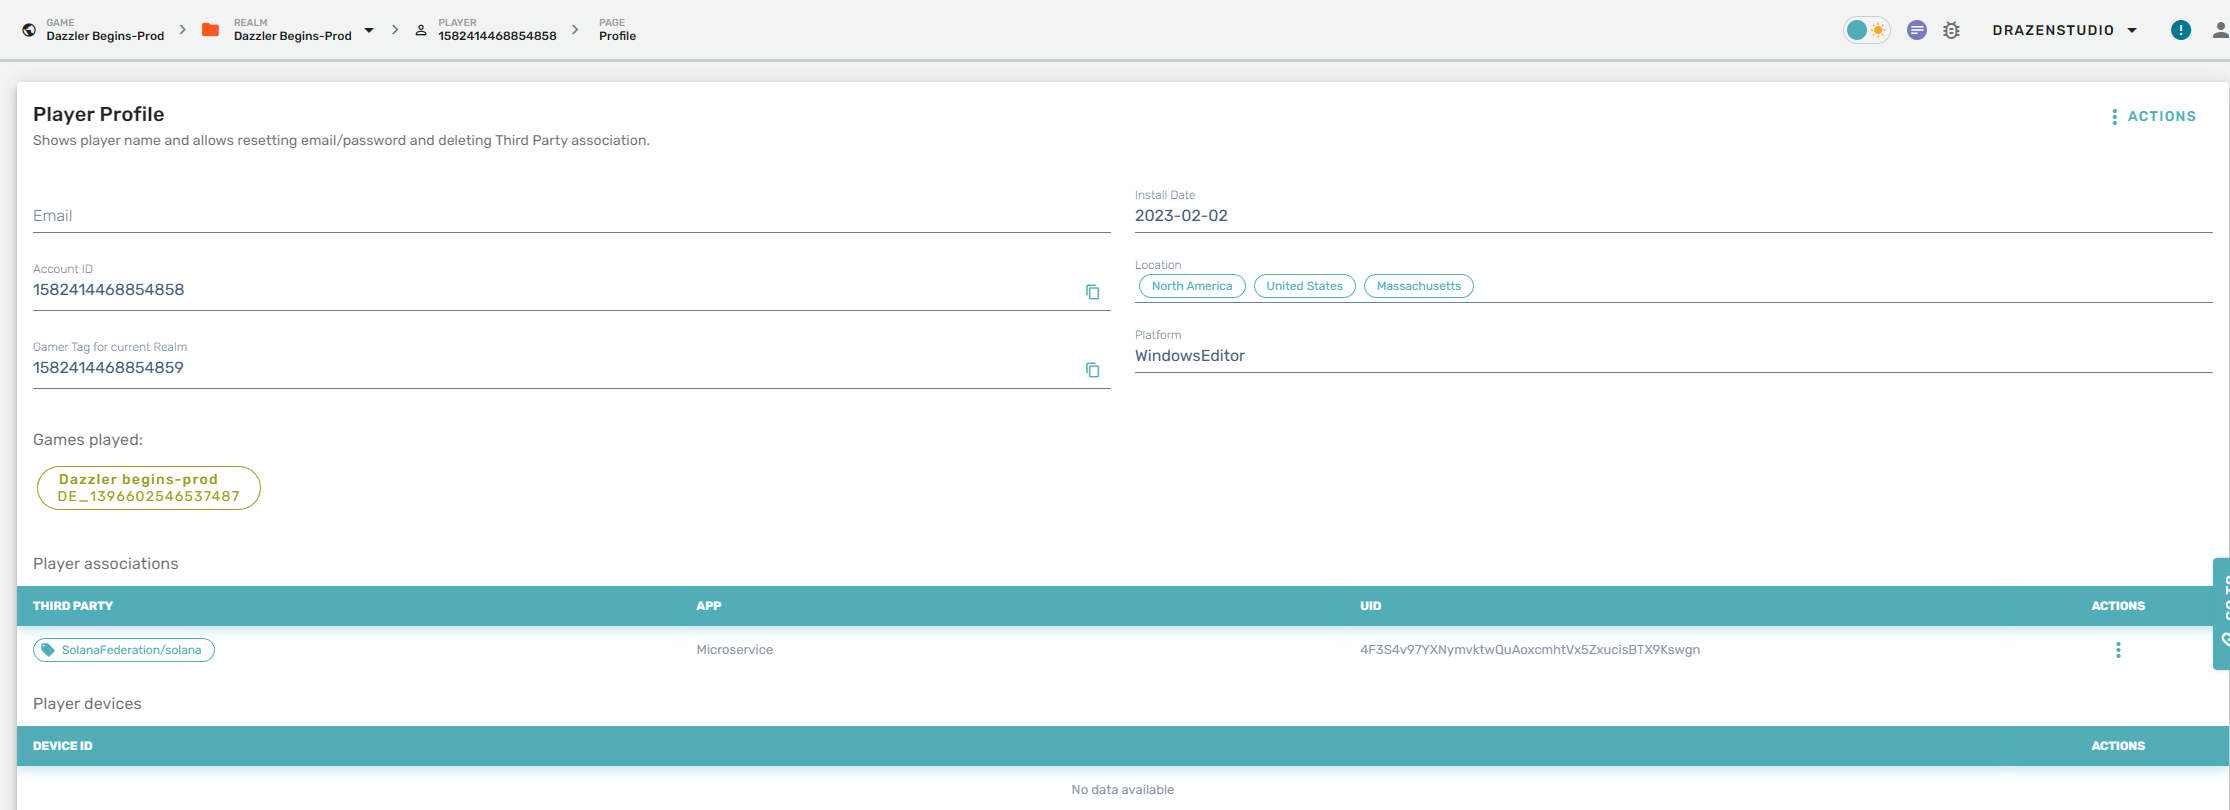
Lookup the player in the Portal, and confirm that the wallet is attached under "Player associations"
-
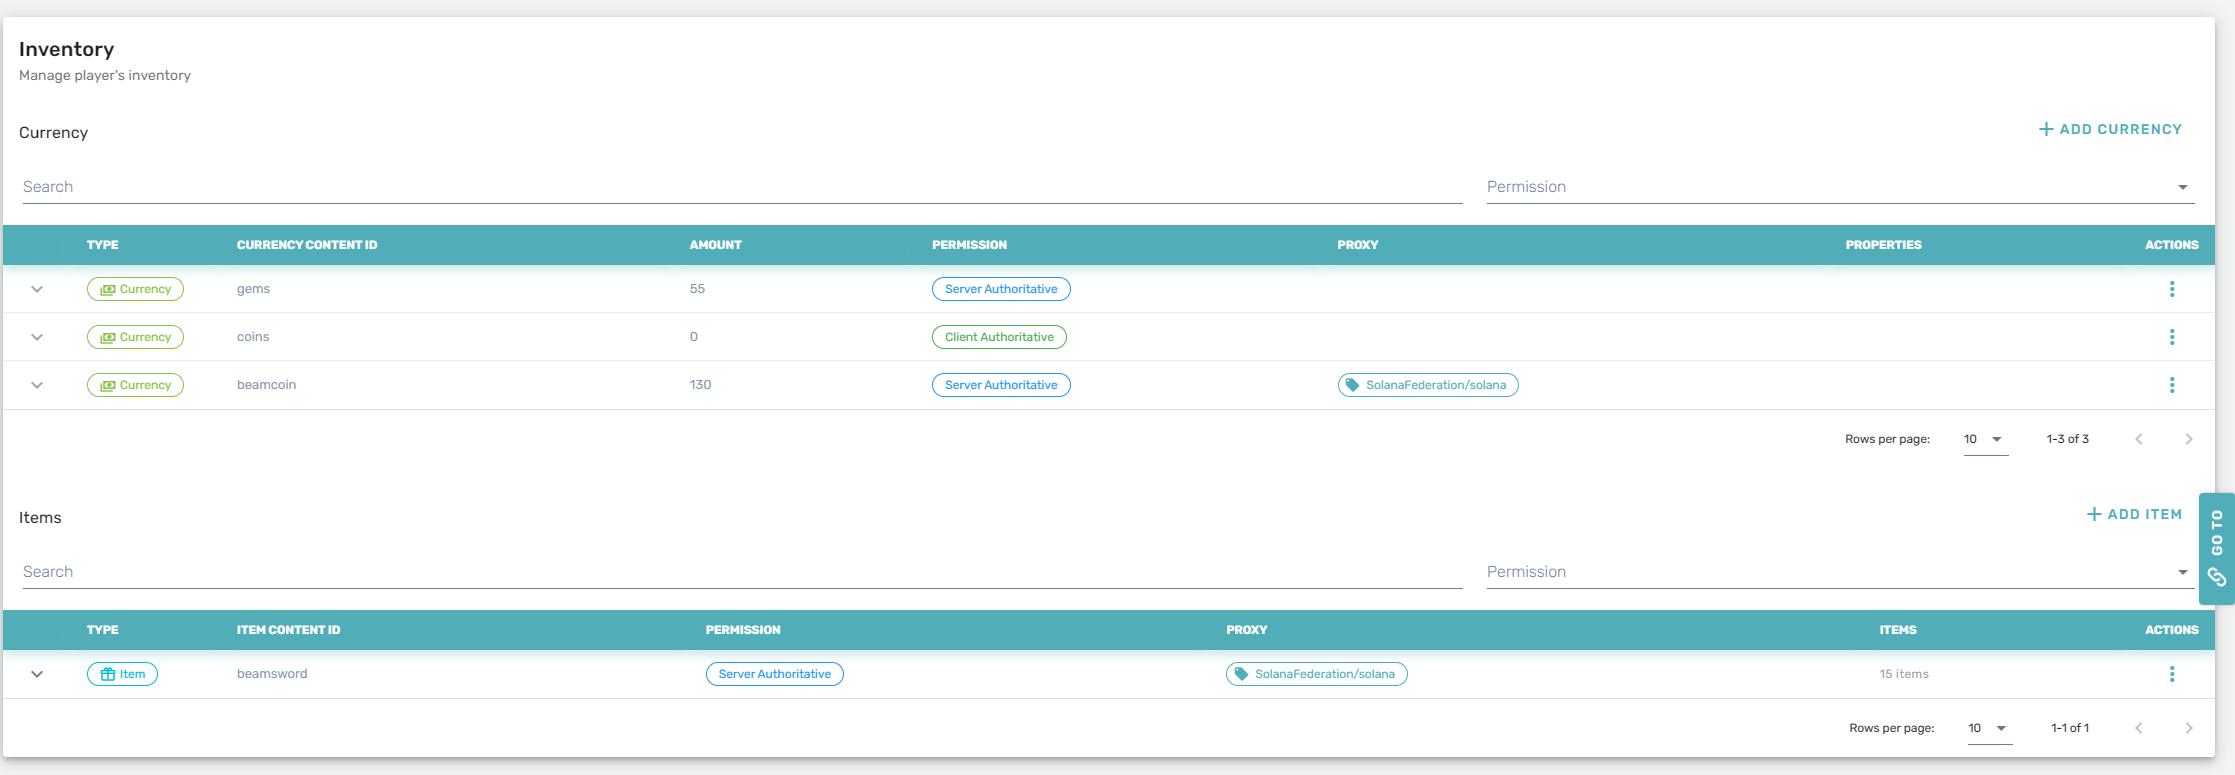
You may now grant the player Items and Currencies via the "Inventory" page, and confirm their presence on the Solana devnet
WarningIn order for the federation to work correctly, you must publish the microservice to the realm. Running the service and storage locally will not work.
Configuration
The default configurations are geared towards ease of development, and therefore leverage the Solana DevNet. Before going live on production, you will want to adjust various configurations on your production realm via the Operate > Config section (details available here: https://github.com/beamable/solana-example).
- Cluster Address: Cluster RPC API URI
- Default Token Collection Name: Name for the default NFT collection
- Max Rpc Requests Per Sec: RPC client throttling configuration (to stay below the limits on public APIs)
- Authentication Challenge TTL (Seconds): Authentication challenge TTL
- Air Drop Amount: If > 0, service will request an airdrop to the realm wallet after creation
Transaction Fees
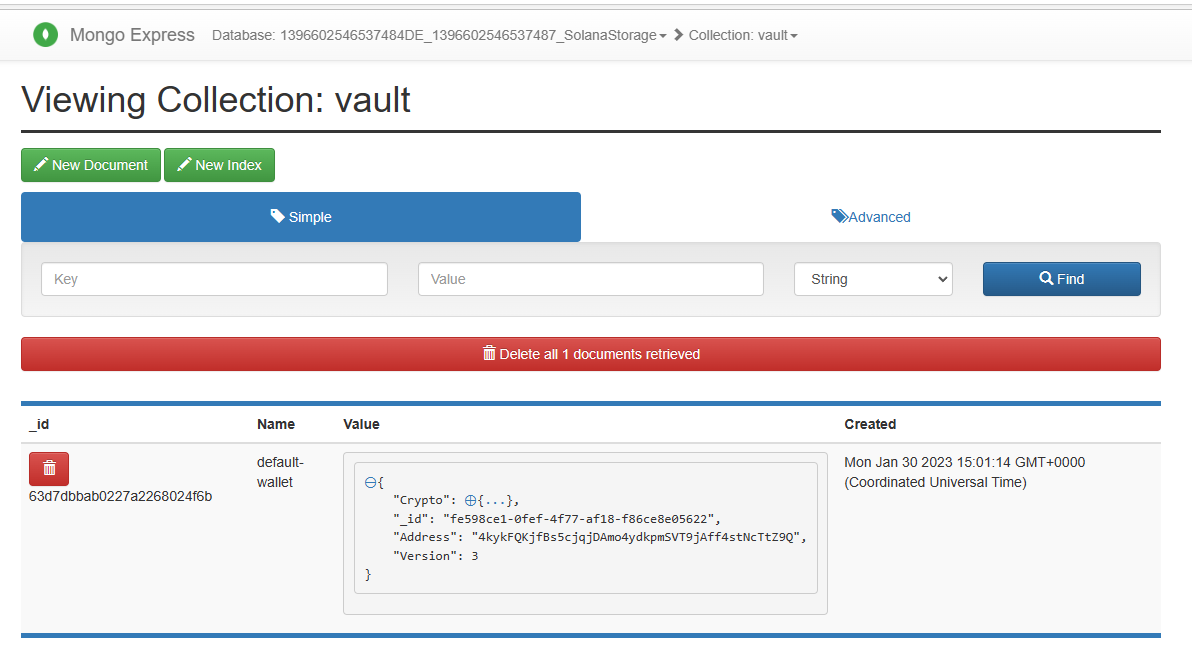
Upon initial startup, the Solana Integration will automatically create a developer wallet for you. This wallet is responsible for paying any blockchain transaction fees resulting from minting tokens to player wallets.
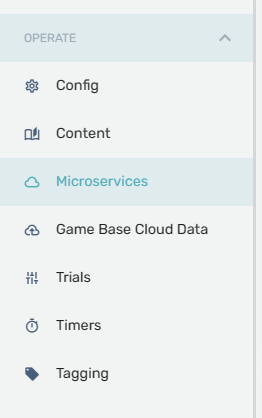
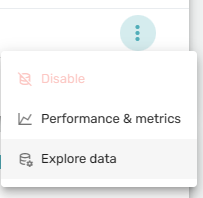
As such, it is your responsibility as a developer to ensure that the wallet has sufficient funding to pay for the gas fees. You can find the wallet address by exploring your SolanaStorage object data in the Portal under Operate > Microservices within the vault collection.
Limitation
Currently, it is not possible to remove items or currencies from player wallet as this would require them to sign the transaction. We plan to add this and other capabilities in the future. However, as you have full source, you are also welcome to add whatever capabilities are useful for your game.
Updated 8 months ago